Fruit such as apples, pears, nectarines and peaches are susceptible to being eaten by wildlife right as they ripen. The simplest way to protect your harvest is to create a physical barrier in the form of netting. Here's how.
The following article is an extract from Grow It Local Co-Founder Paul West's book, Homegrown: A Year of Growing, Cooking and Eating.
Who doesn’t love a piece of fruit picked straight from the tree? It’s one of the many simple pleasures enjoyed by food growers.
The only problem is that it’s not only us gardeners who like to eat sweet, juicy fruit – there’s a whole raft of neighbourhood animals who love nothing more than a little nibble on a piece of prized fruit that you’ve patiently watched ripen over weeks or even months.
Fruit such as apples, pears, nectarines and peaches are all susceptible to being munched on by birds, possums, bats, flying foxes and rats, usually right before you were thinking of harvesting them (looks like we weren’t the only ones watching the fruit ripen!).
If you’d like to avoid feeding the local wildlife with your precious supply of homegrown fruit, the simplest thing to do is to create a physical barrier in the form of netting.
What you’ll need
- White netting with holes no larger than 5 mm
- Garden stakes (optional)
- Poly pipe or electrical conduit (optional)
- Tent pegs, rocks or logs to secure the net (optional)
_65a9baadd3d0f.jpg)
Step 1
First you’ll need to choose your net. It’s important to note that we only want to stop animals from eating the fruit, not entangle them and cause them harm.
With this in mind, there are a few simple things to look out for when sourcing your netting.
First, look for white netting, as it is the easiest for animals to see at night.
Second, make sure that the holes in the netting are no larger than 5 mm – a quick test that you can do is to try to pass your finger through one of the holes in the net. If it passes through the net, it poses a risk to wildlife; if it doesn’t, it’s good to use.
_65a9bad277113.jpg)
Step 2
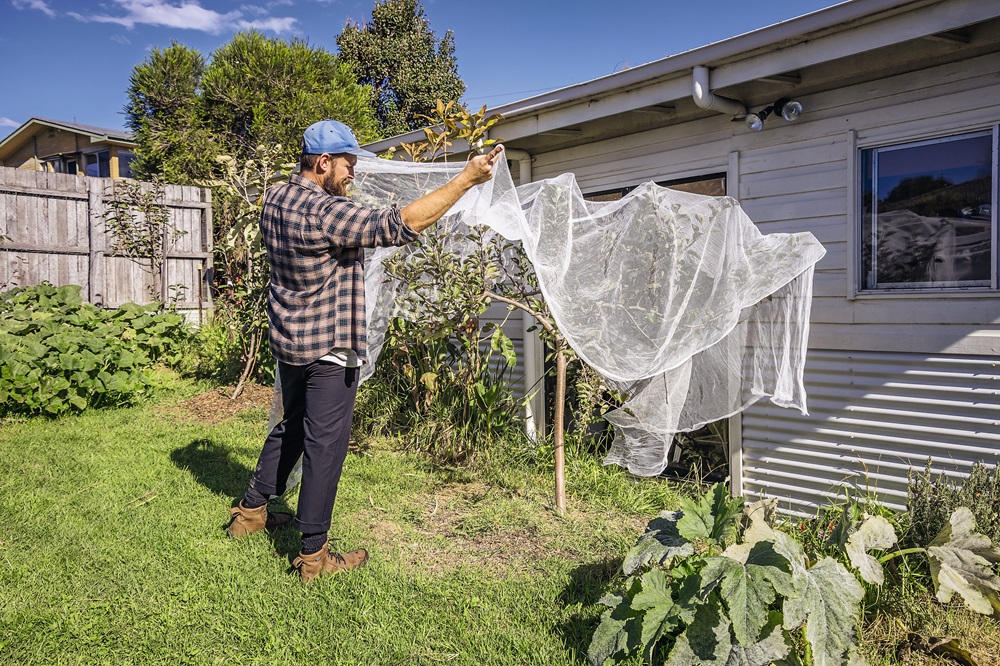
To use the netting, the simplest method is to drape it over the top of the tree and then draw the netting around the base of the trunk.
If your tree is young and you’re worried that the weight of the net will damage it, you can make a simple frame by driving four stakes in a square around the tree, running a length of poly pipe or electrical conduit between opposing stakes, then draping the net directly over that.
If your tree is taller than 2.5m, you will struggle to cover it with a single net. If this is the case, I recommend buying smaller nets and netting each branch individually.
_65a9bb2eae848.jpg)
Step 3
To prevent animals from sneaking underneath, tie the net tightly around the base of the tree.
Alternatively, secure it to the ground by pegging it down with tent pegs or weighing it down with rocks or logs.
_65a9bb6f5daac.jpg)
Step 4
Leave the net in place until the fruit has ripened and is ready to harvest.
Once your tree has finished fruiting, remove the net, clean away any plant debris, then roll it up and pop it in the shed until next year.
This how-to was an extract from Homegrown: A Year of Growing, Cooking and Eating by Paul West, published by Plum, RRP $44.99, photography by Chris Middleton and David Rogers.