Learn > How To
Constructing a trellis for climbing vegetables
Make a DIY trellis for climbing plants
Are you ready to take your vertical gardening game to new heights? Today, we’re crafting a
simple yet sturdy DIY trellis that’s perfect for giving your climbing veggies the support they need
to grow strong and provide bountiful harvests. I’m excited to guide you through this fun and
rewarding project, ideal for anyone looking to maximise their gardening space!
Why Use a Trellis?
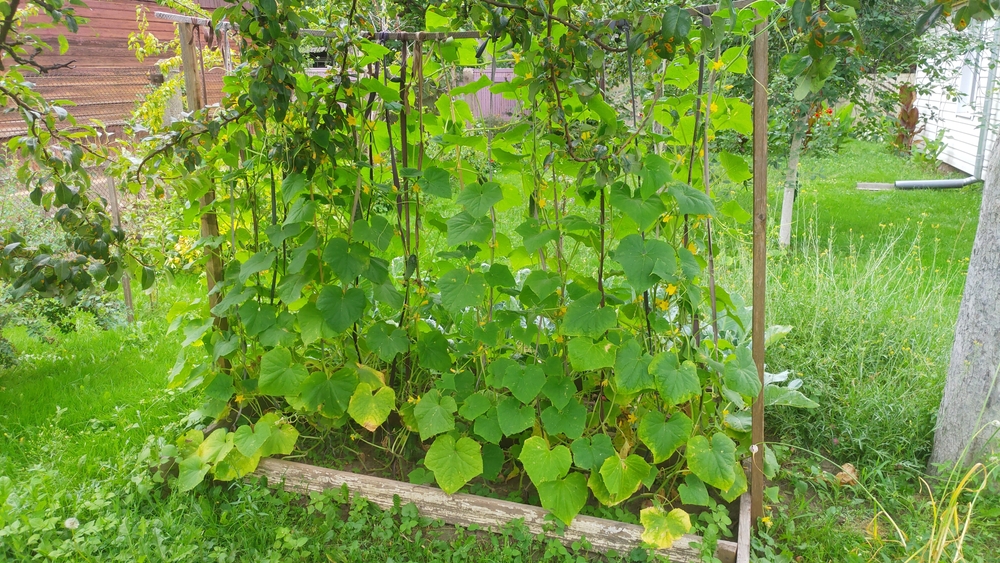
Using a trellis for climbing vegetables like cucumbers, peas, and beans has several benefits:
Saves Space: Perfect for gardens with limited area, allowing you to grow upwards.
Improved Health and Yield: Elevating plants off the ground helps reduce exposure to pests and
diseases, while increasing sunlight exposure and air circulation, leading to healthier plants and
better yields.
Ease of Harvest: Makes picking your vegetables easier and more enjoyable, as the produce is
more visible and accessible.
Choosing Your Materials
You’ll need:
Wooden posts (e.g., 2x4s for strength and durability)
Wire mesh or netting (choose a rust-proof material with openings large enough to allow veggies
to grow through but small enough to provide support)
Screws (ensure they are weather-resistant)
Drill
Optional: Paint or wood stain (to protect the wood and enhance appearance)
Assembly Steps
1. Plan Your Structure: Decide on the height and width of your trellis based on your space and
the type of vegetables you plan to grow. A standard size could be 6 feet tall and 4 feet wide.
2. Build the Frame: Using your wooden posts, construct a rectangular frame. Secure the corners
with screws for stability. If you’re feeling fancy, an A-frame design is also great for extra stability
and aesthetic appeal!
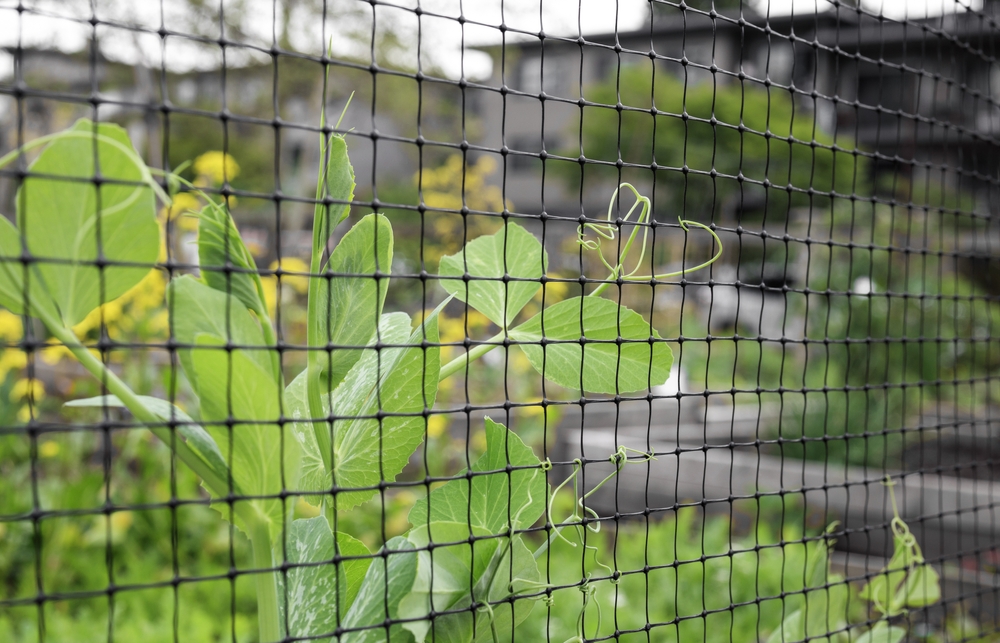
3. Attach the Mesh/Netting: Stretch your wire mesh or netting across the frame. Secure it with
nails or a staple gun, ensuring it’s tight and even to provide adequate support for your plants.
4. Install the Trellis: If free-standing, dig holes to accommodate the legs of your trellis, at least 1
foot deep for stability. Insert the trellis legs into the holes and fill with soil or concrete for a firm
hold.
5. Paint/Stain (Optional): Apply a coat of weather-resistant paint or stain to extend the life of the
wood and give your trellis a polished look.
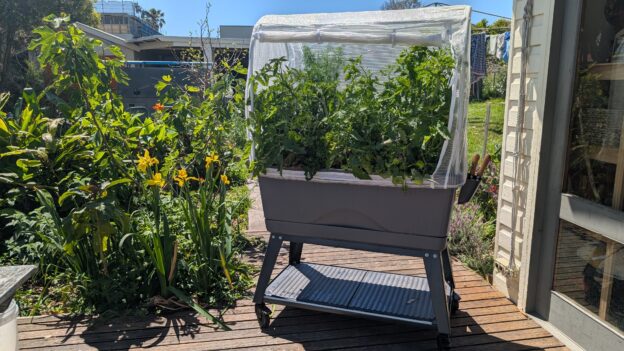
Planting and Training Your Veggies
Once your trellis is installed, plant your climbing veggies at the base. As they grow, gently guide
them onto the trellis, securing with soft ties if needed. Watch as your plants climb their way up
and produce a vertical bounty!
Conclusion
Building your own trellis can be a delightful weekend project that not only enhances the
functionality of your garden but also adds a touch of charm. It’s incredible how such a simple
addition can transform your garden’s productivity and visual appeal. So roll up your sleeves, get
your tools ready, and let your garden reach new heights—literally!
LEARN MORE