Learn to grow microgreens at home, join Grow It Local +
Learn > How To
How to grow Organic Spinach
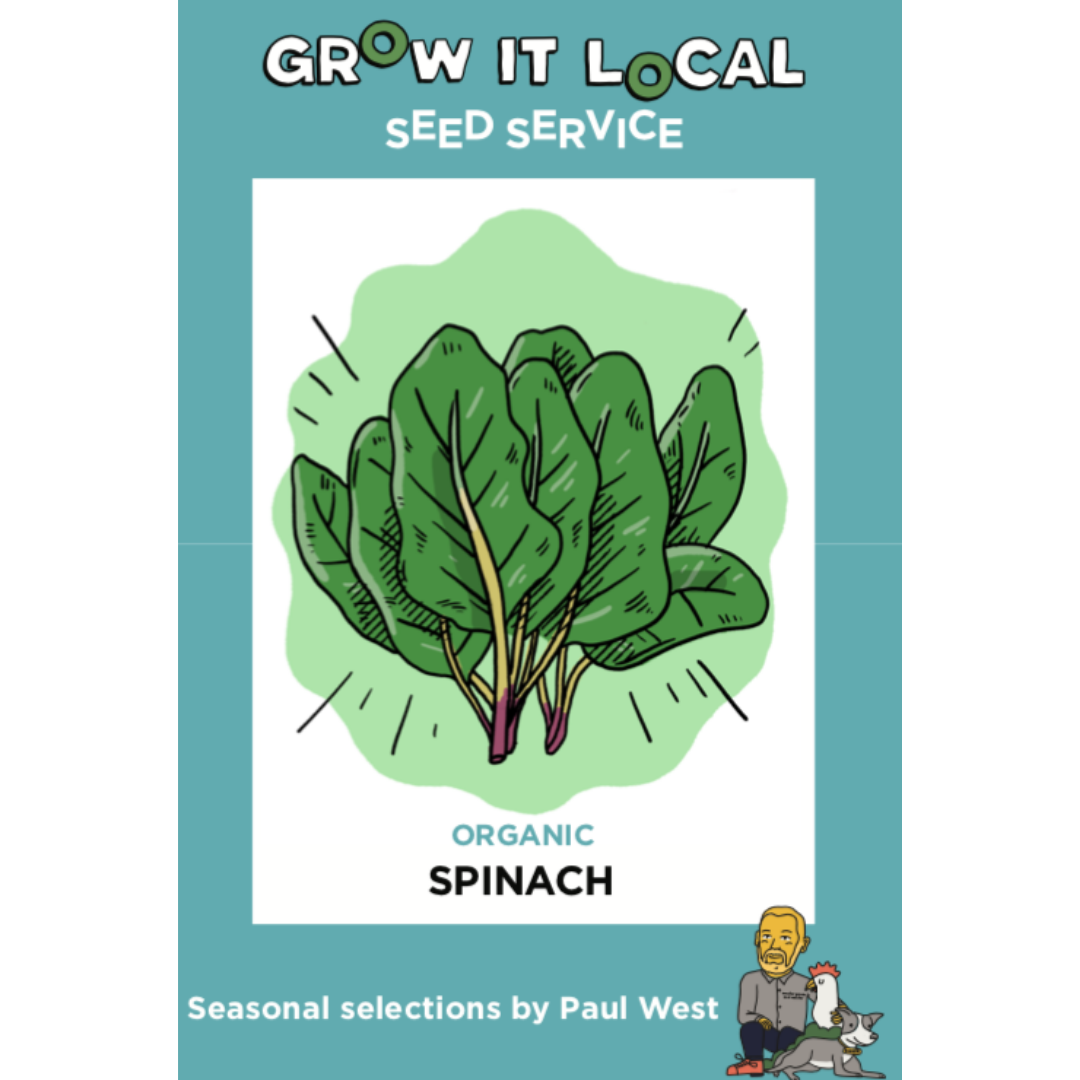
What do you get when you cross a beetroot with spinach? Beetach? Spinroot? No, this isn’t some sort of joke for primary school kids, it’s much more serious than that. You end up with perpetual spinach! It’s important to clarify when we refer to spinach, we’re referring to english spinach, or baby spinach (Spinacia oleracea), you know, the stuff that Popeye loved to neck out of a can. Where things can get confusing is when people call silverbeet, a member of the chard family, spinach too. This makes the name of perpetual spinach extra confusing, so let me clear things up for you.
ORIGINS
Perpetual spinach is a member of the chard family, along with silverbeet and beetroot. It is sometimes referred to as “leaf beet” but has a milder flavour and finer texture than silverbeet or beetroot leaves. It first appeared in seed catalogues in Britain back in the 1800s and has been a high yielding garden favourite ever since. In Australia, it thrives in the cooler months and can be planted in either autumn or early spring.
Where & How to Grow
Location
The way that the sun falls on our gardens can change over the winter months, with the lower angle often meaning that less light hits our garden beds. Perpetual spinach is a very forgiving plant and can tolerate a fair amount of shade, so if you’ve got a bed that doesn’t get as much sun in winter as it does in summer, this is a great plant for that spot.
Pots or in the ground?
Perpetual spinach can be grown either in pots and containers, or in the soil.
Preparation
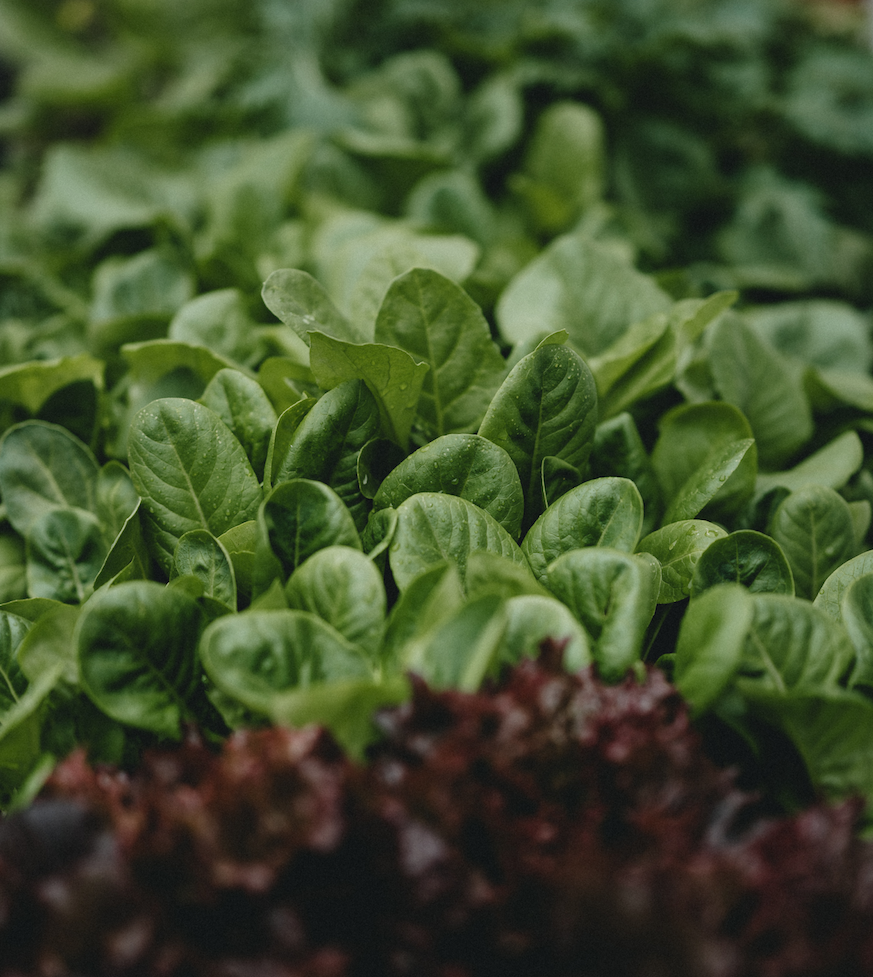
As I said before, perpetual spinach is a very forgiving plant and will grow in relatively poor soil. That said, I still like to prepare my beds by giving them a gentle forking, while scattering over a few handfuls of compost, worm casting or aged manure.
If your growing in pots, add a handful of compost and use a hand fork to incorporate it into the top layer.
Planting
Perpetual spinach is best sown directly into the garden. Make some 2cm deep furrows in rows that are 30cm apart. Sprinkle the seeds along the furrows and then pull some dirt over them. Give the beds a good watering and make sure that you keep the beds consistently moist until the seeds have germinated, which should take about a week..
Maintenance
Once your seeds have germinated, let them grow densely until their first set of true leaves appear, then thin them so there is 20cm spacings between the plants. To keep the leaves tasting sweet, give the plants regular water and a weekly feeding with a liquid organic fertiliser. As the plant gets older, trim off flower heads as they appear.
How long to harvest
The first leaves should be ready to harvest after roughly 4 weeks. Harvest the outer leaves to eat, and never take more than ⅓ of the plant. As the name suggests, perpetual spinach will keep producing leaves for an extended period of time, usually around 9 months. Once the plant bolts, or goes to seed it’s time to feed it to the chooks or chuck it on the compost.
Companions
Perpetual spinach is a stayer at the party and loves to hang out with mates like leafy greens, asian greens and brassicas.
Nutrition
Perpetual spinach is a great source of iron, Vitamins K, A and C as well as calcium
Music to grow to
Taking a perpetual spinach leaf out of ‘ol Popeye’s book here because eating your spinach will make you STRONGER!!!!
Cooking
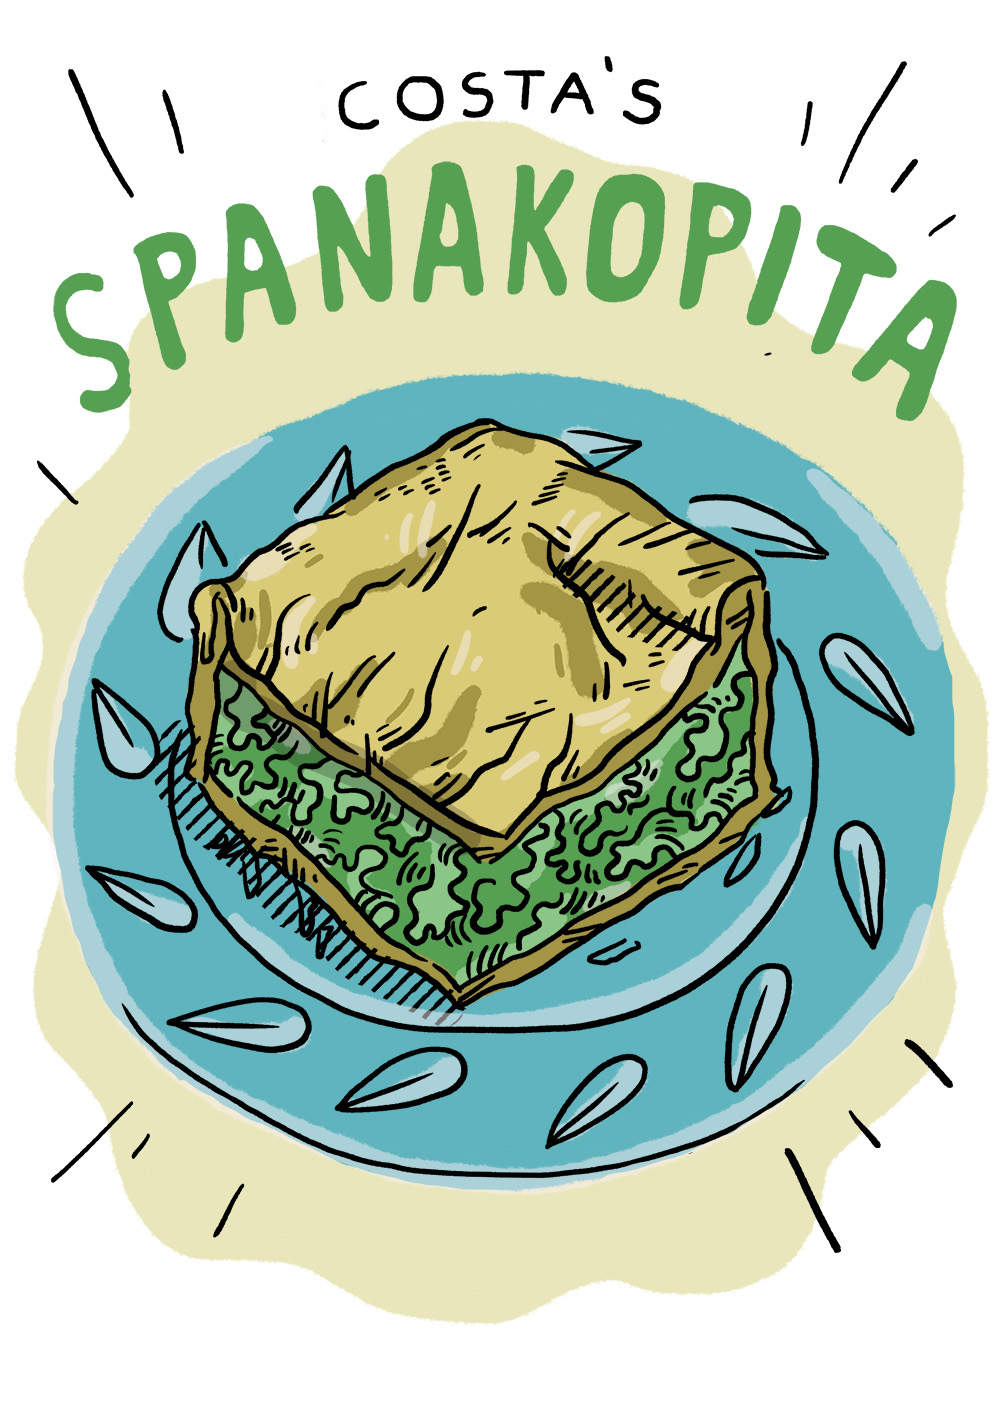
Now obviously, you’re going to want to make the amazing Spanakopita that the one and only Costa Georgiadis has shared with us, it’s a treasured family recipe of his and is AMAZING!! But why stop there, after all, it is perpetual spinach and will keep providing for you for months on end.
Why not harvest a couple of leaves, shred them up with a knife and fry them up with some olive oil, eggs, herbs and garlic, yum! Or if you’re making a soup and want to add another nutrition and flavour hit, shred a couple of leaves and fold them through the soup for the last five minutes of cooking.
Costa’s Spanakopita Recipe
Ingredients
- 1 bunch of spinach
- 1 large onion
- 1/2 bunch of spring onions
- 1 cup parsley
- 1 cup mint
- 1/2 cup dill or fennel leaves
- 200 grams of Greek feta (crumbled)
- 1 cup of tasty cheese
- 1 teaspoon of cinnamon or nutmeg
- 2 eggs
- 1 packet of filo pastry (12 layers) or 2 – 4 sheets of puff pastry
Recipe
Part One – Learn how to grow Costa’s Spanakopita
Part Two – Accoutrements from the garden
Part Three – Into the mix
Part Four – Lets talk Filo
Part Five – Lets talk puff
Part Six – M’mmmmm:

